The smell of freshly-baked bread wafting through one’s kitchen is surely enough to convince anyone to try their hand at a range of bread recipes they can whip at home on a regular basis, and Real Bread Week is here to help us do just that.
Ahead of the week (19th – 27th February 2022), online searches for various bread recipes have been steadily rising, with ‘recipe for soda bread UK’ searches up 130 per cent and ‘best homemade bread recipe’ searches up 100 per cent over the past week, according to Google Trends data.
First launched by the Real Bread Campaign in 2009, the week celebrates and encourages baking homemade bread with no artificial additives.
Miele has a selection of recipes below which will fill any home with the incredible smell of fresh bread, including an easy Irish soda bread recipe, a sourdough bread recipe with homemade starter and a porridge bread recipe which uses up leftover porridge, ideal to make ahead of Food Waste Action Week (7th – 13th March 2022).
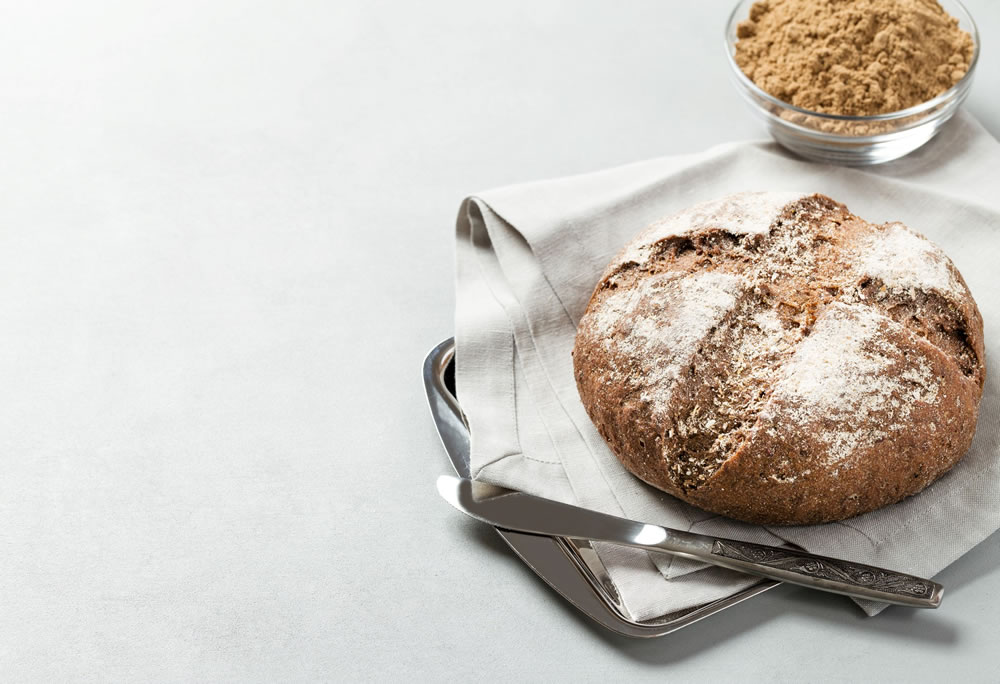
Irish soda bread

Ingredients
450g wholemeal flour plus extra for dusting
50g rolled oats
2tsp bicarbonate of soda
1½ tsp sea salt
50g butter
425ml homemade buttermilk (400ml whole milk, 50ml lemon juice or vinegar)
Glaze
2tsp buttermilk
2tsp oats
Method
1. Preheat an oven on the fan setting at 200ºC. Lightly flour the baking tray.
2. Put the flour, oats, bicarbonate of soda and salt into a bowl and rub in the butter.
3. To make your own buttermilk, simply mix 400ml whole milk with 50ml lemon juice or vinegar, stir, leave to one side for 20 minutes and then proceed with the recipe.
4. Stir in the buttermilk and mix well. Using your hands, bring the mixture together to form a dough. Slightly flatten out the dough and cut a cross in the top. Place on the baking tray and leave to rest for five minutes.
5. Brush the top of the dough with the remaining buttermilk and sprinkle with the oats. Bake for 45 – 50 minutes on a fan setting at 200ºC and spray a little water into the oven before sliding the baking tray in.
6. Transfer to a wire rack to cool before slicing and serving.
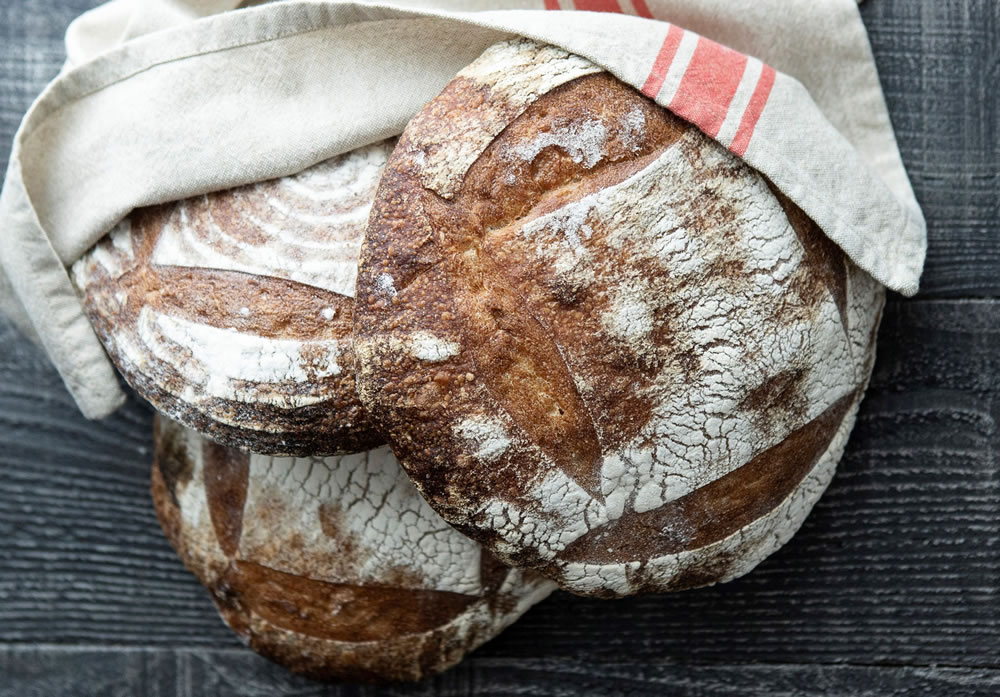
Sourdough bread with homemade starter

Ingredients
400g strong white bread flour
100g wholemeal, rye or spelt flour
360ml tepid water
100g active starter (see Miele’s guide below on how to make this)
10g salt
Method
1. In a food mixer bowl, combine the flours and 350ml of tepid water and stir until there is no dry flour left. Cover the bowl, and leave to the side for 30 minutes. This process is called autolyse and helps to hydrate the flour particles therefore making it much easier to knead afterwards.
2. Add the starter into the bowl, attach the dough hook and knead on a medium speed for one minute. Add the salt and remaining 10ml water and knead for another four minutes on a medium speed. When ready, cover the dough with a damp tea towel and set the timer for 30 minutes. If you do not have a food mixer, knead by hand for 10 minutes.
3. After 30 minutes, you will need to gently stretch and fold the dough in the bowl a few times to help with gluten development. Cover again and repeat the same process every half an hour three more times, then leave the dough to prove at room temperature until it doubles in size.
4. When ready, flour your worktop and tip the dough very gently. Shape into a smooth, round shape and place into a floured bread basket or a bowl. Cover and leave in the fridge overnight.
5. Preheat an oven at 250˚C. If using a Miele oven, use Moisture Plus with two bursts of steam. If your oven doesn’t have Moisture Plus, spray the oven cavity with some water as soon as you slide in the tray with the dough and keep the door shut to retain moisture throughout the cooking. When the oven is ready, transfer the dough on to a baking tray, score with a serrated knife and bake for 35 minutes, adding the steam right at the beginning.
6. When ready, remove from the oven and transfer into a wire rack. Allow to cool for at least an hour before slicing.
How to make your own starter
Sourdough is extremely popular and once you get your starter alive, it will pretty much last forever as long as you keep feeding it. Follow the below steps for about a week until it’s ready.
1. Use a glass jar or container and weigh 50g of strong bread flour and 50ml of water at room temperature. Stir to form a rough dough, it doesn’t need to be completely smooth, just no dry patches of flour and leave the mixture uncovered somewhere draught free in your kitchen for 24 hours.
2. The following day, discard half of the mixture and add another 50g of flour and 50ml of water and stir well. Leave uncovered once again for another 24 hours.
3. Repeat this process for a total of five days always with the jar uncovered. By this time, you will see some bubbles in the jar, and that is the indication that the yeast is developing.
4. Now, for a few more days, you will need to do this process twice a day until the starter is alive and bubbling a few hours after it has been fed. This is what we call the active starter.
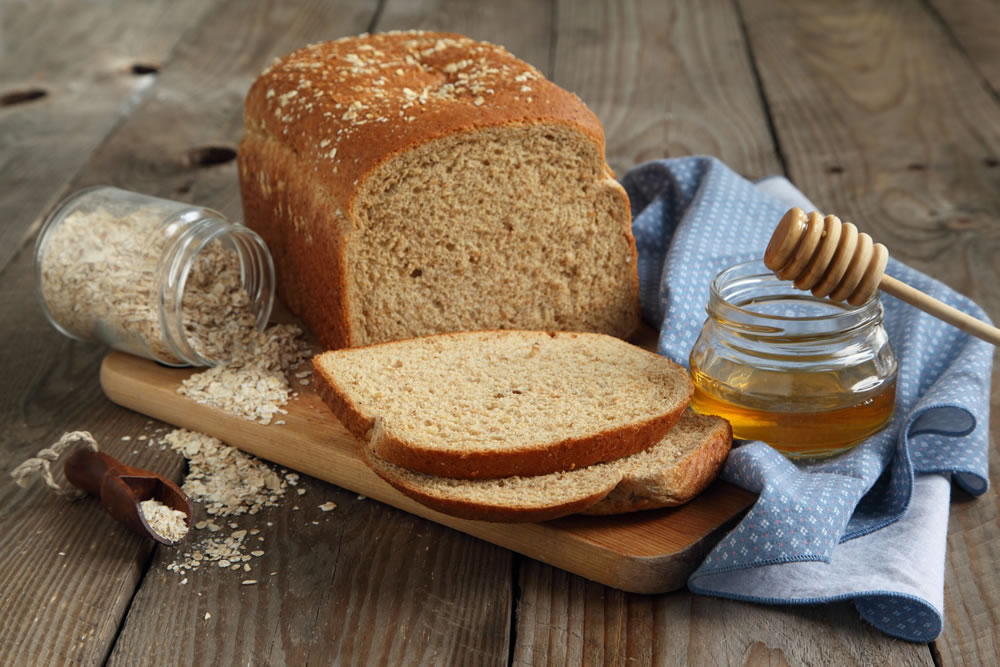
Porridge bread

Ingredients
300g strong white flour
100g rye flour
250ml tepid water
200g cold porridge
5g active dry yeast
7g sea salt
2tbsp oats
Method
1. Combine all the ingredients in a large mixing bowl and mix everything together with a wooden spoon until the dough comes together. Cover the dough with a damp tea towel and leave to rest for 30 minutes.
2. Uncover the bowl, pull each corner of the dough and fold onto itself. Cover with the tea towel again and repeat the process twice more every 15 minutes. Leave the dough now to prove until double in size (or this can be done using a Miele Warming Drawer on the lowest setting for about 30 minutes).
3. When ready, gently tip the dough onto a floured worktop and knead for about a minute before shaping into a loaf.
4. Line and grease a 900g loaf tin with greaseproof paper, transfer the dough, cover loosely with a damp tea towel and allow to prove once more for another 30 minutes.
5. When ready, preheat an oven at 200°C. With a serrated knife, make a cut along the surface of the loaf about 1cm deep, sprinkle the oats all over and bake the loaf for about 40 minutes, releasing the steam right at the beginning.
6. When ready, remove from the oven, place onto a wire rack and allow to cool down completely before slicing.


